
Last updated September 10, 2026
Full 25-point door and opener safety check with every visit - springs, cables, rollers, tracks, and your LiftMaster or Chamberlain opener included
You get a price before we start. It does not change when the truck arrives.
 Before
 After
After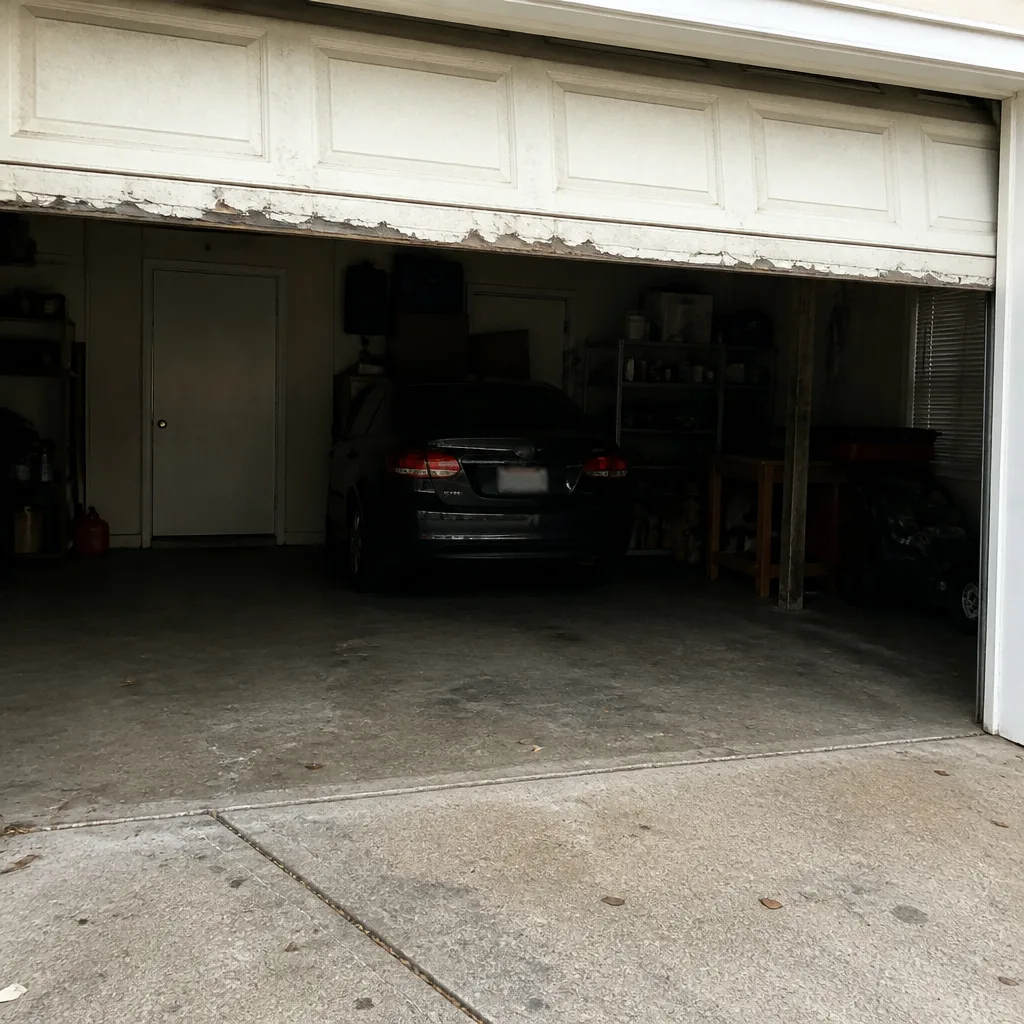 Before
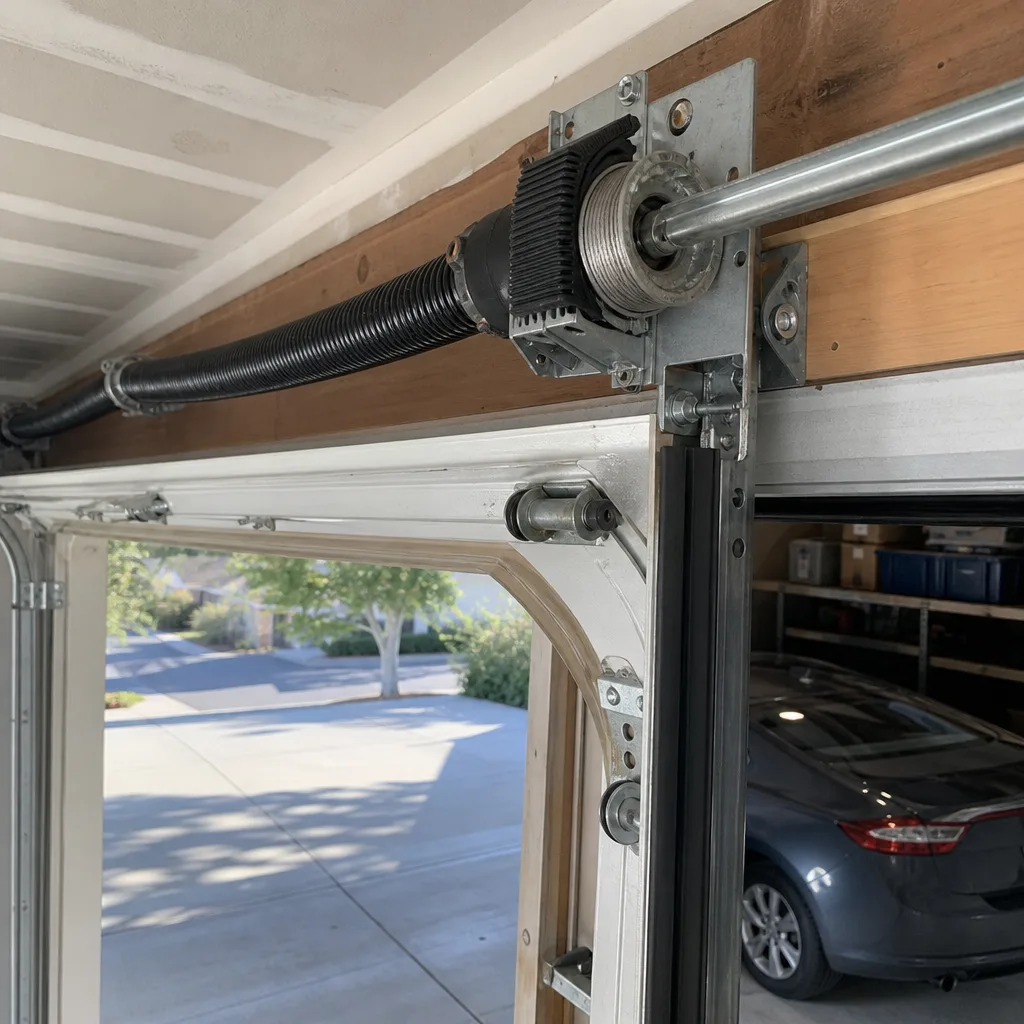 After
After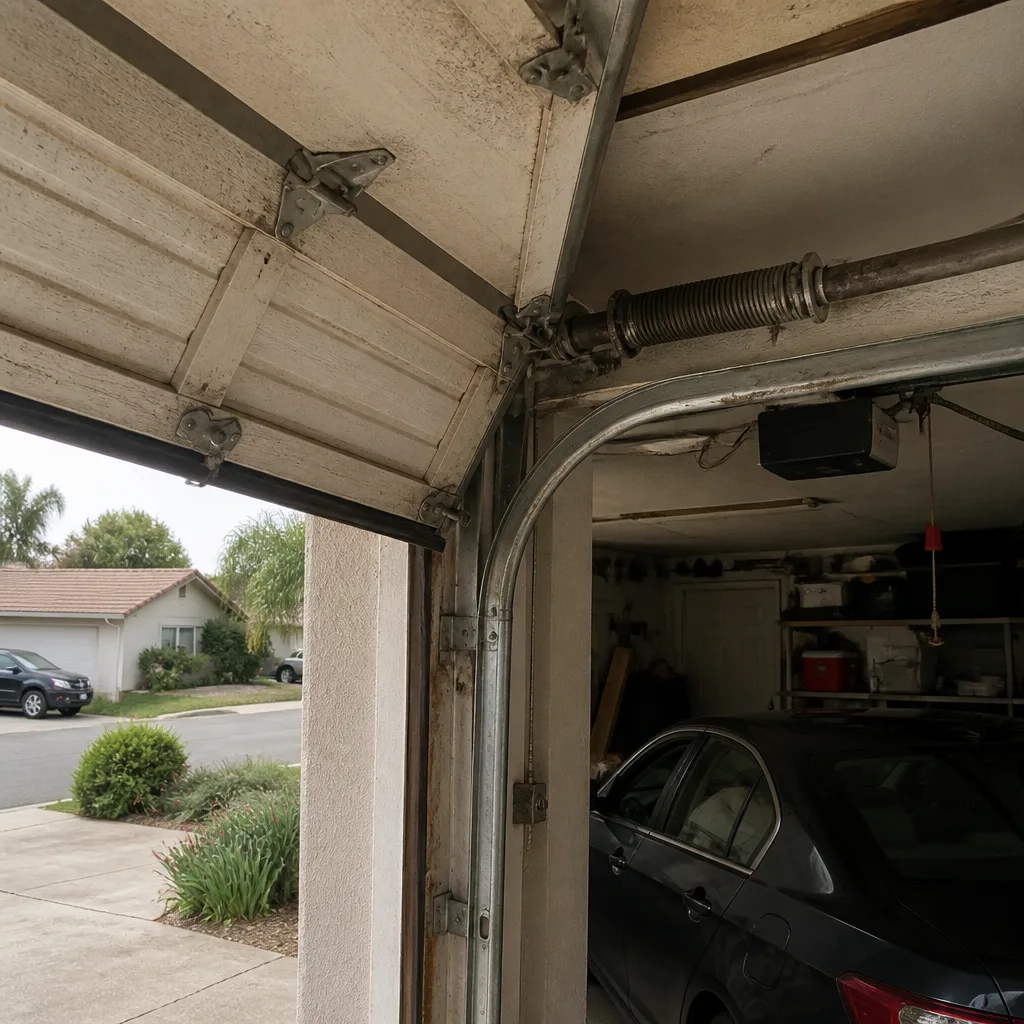 Before
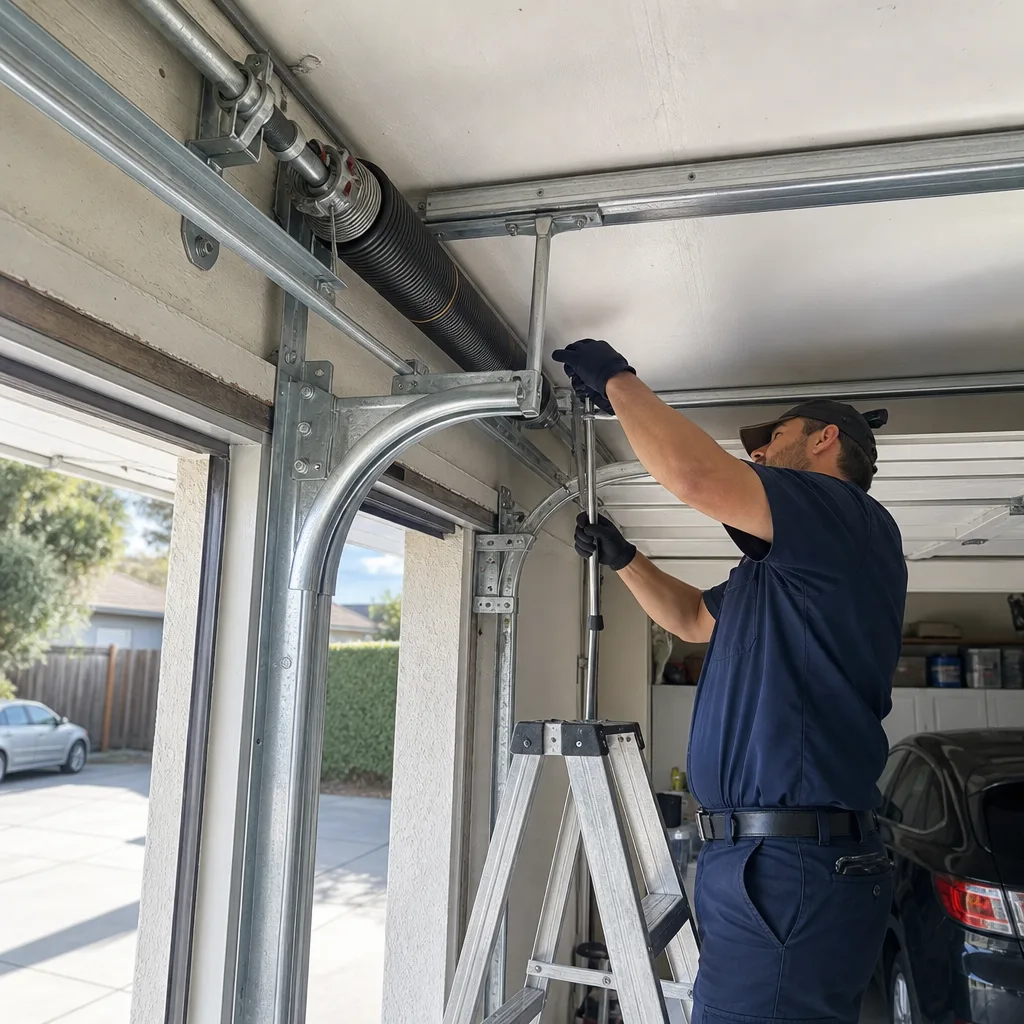 After
AfterGarage Door Repair Maintenance Checklist for Vista Homeowners
The number-one repair call we get in Vista is a broken torsion spring, and here’s the part that still surprises people: a $30 can of spray lubricant applied twice a year would have prevented most of those calls. Garage doors don’t fail overnight. They fail in stages, and each stage leaves a clue you can see, hear, or feel if someone shows you what to look for. This guide is that someone. You’ll get a month-by-month maintenance plan tied to Vista’s actual weather, a five-point inspection you can finish before your coffee cools, and a straight answer on which jobs you should never attempt yourself. For a deeper dive into symptoms to watch for, see our Garage Door Warning Signs: A Vista Homeowner’s Reference Guide.
Quick Answer
A garage door maintenance checklist for Vista homeowners comes down to this: lubricate the moving metal parts twice a year, test the auto-reverse and photo-eye sensors monthly, tighten hardware in April and October, watch for rust on cables and springs, and keep the tracks clean and aligned. Most of it takes under ten minutes a month, and it’s the difference between a door that lasts twelve years and one that fails at year six. The only tasks that require a professional are spring replacement, cable replacement, and track realignment, because those parts hold enough tension to cause serious injury. If you’re evaluating who to call, our How to Hire a Garage Door Contractor in Vista: A Step-by-Step Guide walks you through the process.
Table of Contents
- Why Vista’s Climate Demands a Different Maintenance Schedule
- The Five-Point Visual Inspection You Can Do in Under Ten Minutes
- Exactly What to Lubricate, What to Skip, and What Destroys Your Parts
- How to Test Auto-Reverse and Photo-Eye Sensors Safely at Home
- A Month-by-Month Maintenance Checklist for Vista Homeowners
- What You Can Fix Yourself and What Belongs to a Licensed Tech
- Common Mistakes to Avoid
- When to Call a Professional
- Frequently Asked Questions
- The Bottom Line
Why Vista’s Climate Demands a Different Maintenance Schedule
Most garage door maintenance checklists you’ll find online were written for the Midwest. They talk about winterizing, freeze-thaw cycles, and snow load. None of that applies here. Vista gets marine layer mornings, dry heat in summer, and enough coastal salt in the air to accelerate rust on any exposed metal within a few miles of the coast. Your door faces three local enemies: oxidation from moisture, dry rot in any wood components from sun exposure, and fine dust that works its way into rollers and hinges during Santa Ana wind events.
In our experience, Vista garage doors fail differently than doors in Poway or Escondido. Homes west of Melrose Drive near the Buena Vista Creek corridor see more rust on springs and cables, especially if the garage faces west and sits in shadow during the morning fog burn-off. Homes further inland around Shadowridge or Breeze Hill get more dust buildup in the tracks, which grinds down nylon rollers faster. The fix for both is the same: a maintenance schedule that accounts for where you live and how the door actually gets used.
Here’s what that schedule looks like in practice:
- Twice a year (April and October): full lubrication, hardware tightening, and a complete visual inspection. October catches the start of Santa Ana season when dust kicks up. April catches the transition into coastal fog season when humidity rises.
- Once a month: a ten-minute safety test of the auto-reverse system and photo-eye sensors. This is the one task with a legal and safety reason behind it, and we’ll cover it in detail below.
- After any heavy wind event: check the door’s balance and listen for new noises. Santa Ana winds push fine grit into tracks and hinges, and a door that was quiet in September can start grinding in November.
- Whenever you notice a change: a new sound, a slower open, a door that hangs slightly crooked. Don’t wait for the schedule. A door is 200 pounds riding on two springs. Respect it.
Vista’s mild climate means you’ll never have to shovel snow off your door or fight frozen rollers, which is nice. But mild weather also means problems develop slowly and quietly, and it’s easy to miss them until a spring lets go at nine o’clock on a Sunday night. That’s why the monthly check takes ten minutes instead of ten seconds.
The Five-Point Visual Inspection You Can Do in Under Ten Minutes
This is the inspection I do on every service call before I touch a single bolt. It catches about 80% of the problems that would otherwise become emergency calls, and you can do it with nothing but your eyes and ears. Here’s the exact routine, in order:
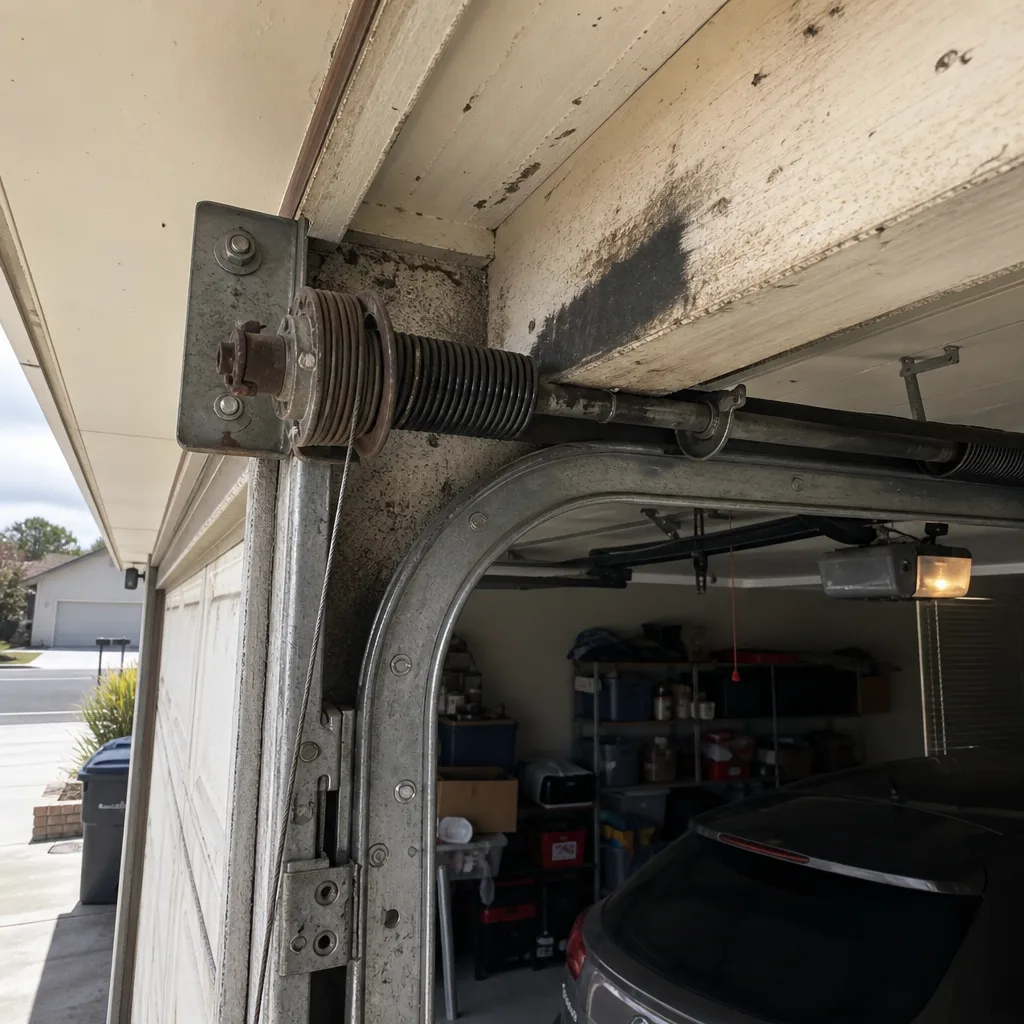
- Look at the springs. With the door closed, stand inside the garage and look up. You’re looking for a gap in the torsion spring coil, which means it’s broken, or surface rust, which means the spring is aging and losing tension. A healthy spring shows no gap and no rust. If you see either, do not open the door. Call me.
- Look at the cables. The cables run up the sides of the door and wrap around drums at the top. You’re looking for frayed strands, which look like hair sticking out of the cable, or any rust. A frayed cable is a time bomb. It holds the same tension as the spring, and when it goes, the door drops fast and crooked.
- Look at the rollers. Rollers sit inside the tracks on both sides. You’re looking for wobble, flat spots, or visible wear on the nylon coating around metal cores. A roller with a flat spot makes the door jump and grind, and it wears down the track every time the door cycles.
- Run your eyes along both tracks. The vertical tracks bolt to the wall and the horizontal tracks run back into the garage. Look for gaps where the track has pulled away from the wall, any bend, or any build-up of black dust mixed with old lubricant. That gunk is abrasive, and it’s eating your rollers.
- Listen to the door run. Open and close it once, standing to the side, not underneath. A healthy door sounds smooth, like a low rumble. Grinding means dry rollers or worn bearings. Rattling means loose hardware. A popping sound when the door moves means a spring is binding, and that’s a call to me before it becomes a bigger call.
This inspection takes under ten minutes once you know what you’re looking for. Do it the first Saturday of every month, write down anything that changed since last month, and you’ll catch most problems while they’re still cheap fixes instead of replacements. If you’re not sure what you’re seeing, snap a photo and I’ll tell you over the phone whether it’s normal or needs a look. You can reach me at (760) 891-5938, and yes, I answer the phone myself.
Exactly What to Lubricate, What to Skip, and What Destroys Your Parts
The most common lubrication mistake I see in Vista garages is using the wrong product. WD-40 is a solvent, not a lubricant. It strips whatever oil is left and leaves the metal dry, which means more friction, more heat, and a shorter life for every moving part. A second mistake is spraying grease into the tracks. The tracks are not supposed to be lubricated, and grease turns into a paste with the fine dust from Santa Ana winds. That paste acts like sandpaper on your rollers.
Here’s exactly what to use and where:
- Springs: spray a white lithium grease or a silicone-based lubricant directly onto the torsion spring coils. Spray from both sides and wipe off the excess. This is the single most important maintenance task you can do, and it’s the one that prevents the torsion spring failure that leads most repair calls in Vista. The spring flexes every time the door moves, and dry metal under tension creates friction, heat, and micro-fractures. Lubrication lets the coils slide against each other instead of grinding.
- Hinges: every hinge has a pin that pivots. Spray the pin where the two plates meet and work the door up and down once to distribute it. Most doors have between six and twelve hinges depending on the number of panels.
- Rollers: if you have metal rollers, lubricate the ball bearings inside the wheel. If you have nylon rollers, the nylon wheel itself doesn’t need lubricant, but the bearing still does. One detail most checklists get wrong: you can’t just spray the outside of the roller and call it done. The bearing is inside the wheel, and you need to get the straw of the spray can close enough to hit it.
- Opener chain or screw drive: some openers use a chain, some use a screw drive. Either way, a light application of the same lubricant to the chain or screw keeps the opener from working harder than it needs to. If the opener is straining, the problem is almost never the opener. It’s usually a dry, unbalanced door putting load on the motor.
What to skip: do not lubricate the tracks, the photo-eye lenses, or the rubber weatherstripping. Tracks stay clean and dry. Photo-eye lenses get wiped with a dry cloth only. Weatherstripping gets cleaned with mild soap and water, nothing petroleum-based, because petroleum degrades rubber. The wrong product on nylon rollers and nylon guides will soften the plastic and cause premature wear, which is why I recommend sticking with a silicone or white lithium product and keeping it off anything that isn’t metal.
How to Test Auto-Reverse and Photo-Eye Sensors Safely at Home
Since 1993, federal law has required every garage door opener sold in the United States to include an auto-reverse mechanism that stops and reverses the door if it hits an object while closing. The law exists because children were getting trapped under closing doors. If you have kids or pets in the house, this test is not optional, and it takes five minutes once a month.
Testing the auto-reverse (force sensor) system
- Place a solid object on the floor in the path of the closing door. A 2×4 laid flat is perfect. Do not use a cardboard box, a toy, or anything that will crush without providing resistance.
- Close the door using the wall button or remote.
- Watch what happens when the door hits the 2×4. It should stop within a second and reverse direction immediately, returning to the open position.
- If the door hesitates, crushes the board, or keeps trying to close, the force settings are wrong or the safety mechanism is damaged. Unplug the opener and call a professional. This is not a minor adjustment.
Testing the photo-eye sensors
- With the door open, wave a broom handle or rolled-up newspaper between the two photo-eye lenses mounted near the floor on both sides of the door. You’re breaking the invisible beam that runs between them.
- Push the close button. The door should not move at all. If it starts to close, the sensors are misaligned, dirty, or wired incorrectly.
- Wipe each lens with a dry, clean cloth and try again. If cleaning doesn’t fix it, the sensors may be out of alignment. You can visually check alignment by making sure the small light on each sensor is glowing steadily and not blinking.
These tests matter for more than your family’s safety. If an opener is older than 1993 or has been tinkered with by a previous homeowner, the auto-reverse may have been disabled or set too sensitive on purpose to stop “nuisance reversals.” We see this in Vista all the time, especially in homes that changed hands recently. The new owner has no idea the previous owner disabled a safety system to fix a minor inconvenience. If your door fails either test, call (760) 891-5938 and I’ll come set it right. This is not a job to put off.
A Month-by-Month Maintenance Checklist for Vista Homeowners
Here’s the full checklist, printed out and taped to the inside of your garage door is how most of my long-time Vista customers use it. Each month has one primary task, and it’s designed around Vista’s actual seasons, not some generic template from another state.
January
- Test auto-reverse and photo-eye sensors. The holidays brought boxes, bikes, and visiting grandkids. Make sure the safety systems still work before the next wave of activity.
- Check weatherstripping along the bottom of the door. Coastal moisture gets under a worn seal, and that’s how you get damp floors and rusted tracks in Vista garages.
February
- Inspect cables and springs for rust. Winter marine layer means elevated humidity. Look for any orange discoloration and call if you see it, because rust on a spring is a countdown, not a cosmetic issue.
- Wipe down photo-eye lenses with a dry cloth. Fog season leaves a film on everything, including safety sensors.
March
- Run the five-point inspection. This is the month when temperatures start swinging and metal expands and contracts. Catch loose hardware before it works itself all the way out.
- Tighten any loose bolts on hinges and track brackets. Use a socket wrench, not pliers, and don’t overtighten. Snug is the goal.
April
- Full lubrication day. Spring coils, hinge pins, roller bearings, opener chain or screw. This is the big one, and it takes about twenty minutes the first time and about ten after that.
- Check the door balance. Pull the red emergency release cord while the door is closed. Lift the door manually to waist height. It should stay put. If it drops, the springs are wearing and you should call before it breaks completely.
May
- Inspect rollers for wear. With summer heat coming, worn rollers will only get louder and rougher. Look for wobble and flat spots.
- Clean the tracks with a dry cloth. No lubricant, just wipe out any dust and debris that accumulated during spring winds.
June
- Test auto-reverse and photo-eye sensors again. Summer means kids home from school, and the garage door becomes the busiest door in the house. Test it monthly through September.
- Listen for new noises during operation. Any grinding, popping, or rattling that wasn’t there in May is worth investigating now.
July
- Check weatherstripping for sun damage. Vista summers are dry and bright, and rubber degrades under constant UV exposure. Cracks in the bottom seal let in dust, bugs, and heat.
- Inspect wood trim or fascia around the door for dry rot. If you have a wood-framed door opening, summer is when dry rot shows itself.
August
- Clean and inspect the door panels. Wash them with mild soap and water. While you’re washing, look for dents, cracks, or sagging panels. A dented panel can throw off the door’s balance.
- Check hinges for rust. August heat bakes in any moisture that sat on metal during the marine layer months. Rust accelerates in heat.
September
- Test auto-reverse and photo-eye sensors. Last month of summer break. Keep testing monthly until school starts.
- Clear any debris from around the door tracks. Leaves, grass clippings, and kids’ toys end up in the track path.
October
- Second full lubrication day of the year. Same routine as April, and just as important. This is the one most people skip, and it’s the one that matters most before Santa Ana season.
- Tighten all hardware. The seasonal temperature shift loosens bolts. Spend ten minutes with a socket wrench and go over every hinge, bracket, and track mount.
November
- Inspect weatherstripping and bottom seal. Santa Ana winds push dust under a worn seal. If you can see daylight under the closed door, it’s time to replace the seal.
- Check the emergency release cord. Pull it gently to make sure it’s still connected and functioning. You never want to discover it’s broken during a power outage.
December
- Full five-point inspection. Run it once before the holidays. You want the door working perfectly when guests arrive, not failing on Christmas Eve.
- Test the auto-reverse system one more time. Holiday boxes and visiting family mean more traffic through the garage door than any other month.
Printing this out and keeping it in the garage is the single best way to stay on schedule. If you’d rather have me do it for you, I offer our Garage Door Repair services with a free maintenance inspection for any Vista homeowner who calls and asks, and I’ll walk you through everything I find. No charge, no pressure. It’s how I’ve built this business since 2004, one garage at a time.
What You Can Fix Yourself and What Belongs to a Licensed Tech
There’s a clear line between what a homeowner can safely maintain and what requires training. I’ll tell you where that line is, and I’ll tell you what happens when people ignore it.
Safe for homeowners
- Lubrication of springs, hinges, and rollers. This is safe and simple, assuming you follow the guidance above and keep your hands off the springs themselves. The springs are under tension, but spraying lubricant on them doesn’t require touching them.
- Tightening loose hardware. Bolts on hinges and track brackets work loose over time, and snugging them up with a socket wrench is a homeowner-level task.
- Photo-eye sensor cleaning and alignment. Wiping lenses and making small adjustments to the sensor brackets is safe and usually fixes the problem.
- Weatherstripping replacement. The bottom seal slides out of a track on the bottom of the door, and a new one slides in. It’s a ten-minute job with no safety risk.
- Manual operation of the emergency release. Pulling the red cord to disengage the opener is safe, provided the door is closed and you’re standing to the side.
Never attempt these yourself
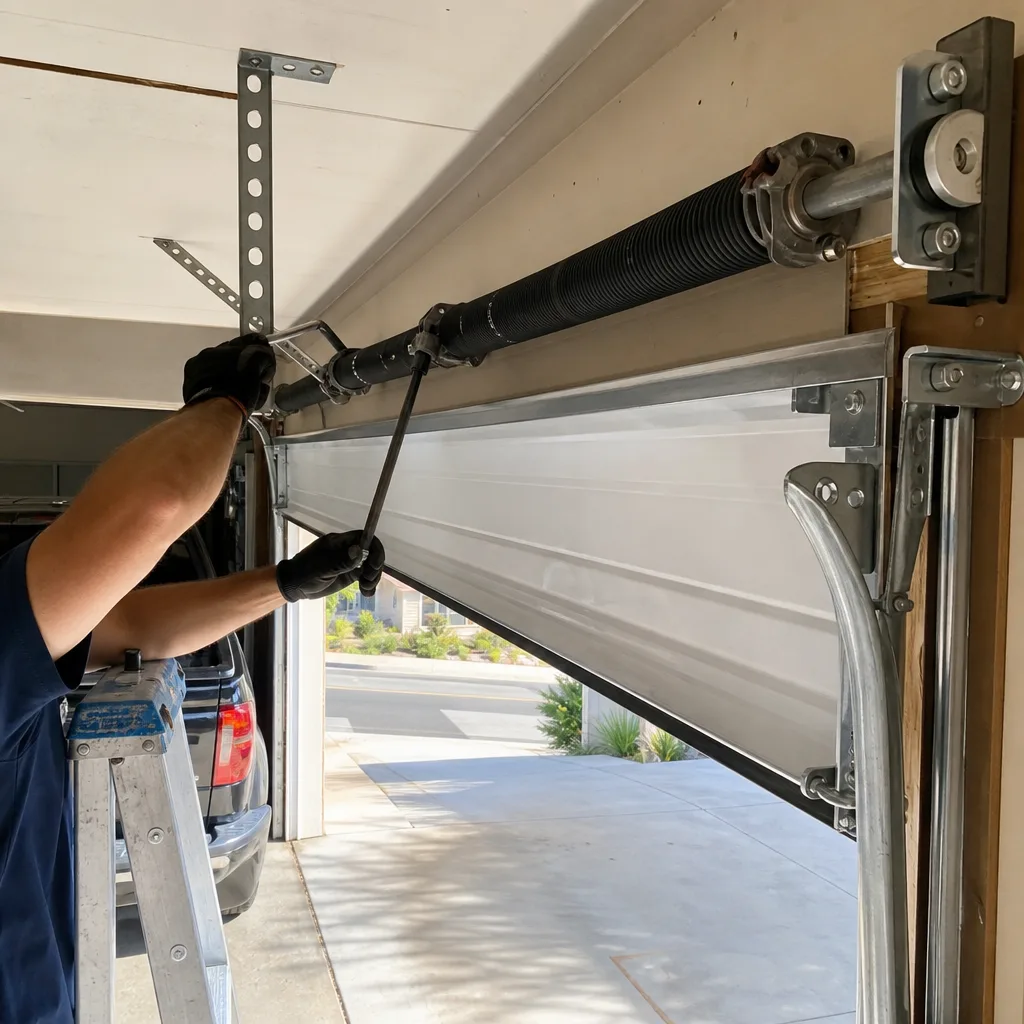
- Torsion spring replacement. The torsion spring mounted above the door holds enough tension to break bone, remove fingers, or kill. The winding bars used to adjust it can slip and become projectiles. This is the number-one cause of serious garage door injuries, and it’s the one place where “I’ll look it up on YouTube” is genuinely dangerous. A door is 200 pounds riding on two springs. Respect it.
- Extension spring replacement. Same principle, different mechanism. Old extension springs sometimes lack safety cables, and when they break, they fly.
- Cable replacement or repair. The cables work with the springs to move the door. If a cable breaks while under tension, the door drops unevenly and can come off the tracks. The cable itself can whip and cause serious lacerations.
- Track realignment or replacement. The tracks guide the door’s entire path, and getting the alignment wrong can cause the door to bind, fall, or damage the opener. This requires experience and the right tools.
- Opener replacement involving electrical wiring. Replacing a remote or programming an opener is DIY-friendly. Replacing the motor unit and running new wiring is not, unless you’re comfortable working with electricity and understand the safety sensors.
Every month or two, someone in Vista ends up in urgent care because they tried to adjust a spring with a pair of screwdrivers. I’m not sharing that to scare you; I’m sharing it because the injury rate is real and completely preventable. If it involves a spring, a cable, or a track, call (760) 891-5938 and I’ll come handle it. I quote the job on the phone and hold that number when I get there. You’ll know the price before I touch a bolt.
Common Mistakes to Avoid
- Using WD-40 as a lubricant. It’s a solvent that strips existing lubrication, leaving springs and hinges drier than they were before. Use white lithium grease or silicone spray instead. We’ve replaced springs in Vista garages that were rusted and pitted specifically because the homeowner “lubricated” them with WD-40 twice a year.
- Greasing the tracks. Grease in the tracks captures dust and creates an abrasive paste that wears down rollers. Tracks should be clean and dry. If your door is noisy and you’ve been greasing the tracks, that’s your culprit.
- Skipping the monthly auto-reverse test. Most people test it when they buy the house and never again. Sensors drift out of alignment, and force settings get changed. A door that crushes a cardboard box instead of reversing is waiting to hurt someone.
- Ignoring a slowly developing noise. A grinding sound that you only hear on cool mornings is still a problem. It means dry rollers or a worn bearing, and it will only get louder and more expensive to fix. Catch it early and it’s a lubrication call. Wait six months and it’s a roller replacement.
- Letting springs rust. In Vista’s coastal climate, rust on springs is common within a mile or two of the ocean. Rust creates friction, friction creates heat, and heat shortens the spring’s life. If you see rust, the spring is already aging faster than it should.
- Replacing the opener when the door is the problem. If the door is unbalanced, the opener has to work harder and will burn out. People buy a new opener only to find the new one burns out too, because nobody fixed the actual problem. Check the balance first.
- Painting over springs and cables. Paint traps moisture against the metal and accelerates rust. Springs and cables should never be painted. If you’re painting the garage door, mask off the hardware.
When to Call a Professional
Call a professional any time the problem involves springs, cables, or a track that’s clearly bent or pulled away from the wall. Those are the three areas where DIY attempts regularly end in injury, and the cost of a service call is nothing compared to an emergency room visit. Call also when your auto-reverse test fails, when the door hangs crooked, when you see frayed cable strands, or when the door makes a popping sound during operation. If you’re in Vista and you’re not sure whether something is a problem worth fixing, call Otto’s Garage Door at (760) 891-5938. I’ll tell you over the phone whether it’s something you can handle yourself or something I should come look at, and I offer a free second opinion on any written estimate. My Garage Door Repair in Vista page explains what a full repair call looks like, but the short version is this: I quote on the phone, I hold the number at the door, and every job carries a 90-Day Done Right Promise in writing.
Frequently Asked Questions
Twice a year is the minimum in Vista, and April and October are the ideal months. April catches the end of the marine layer season when humidity is high enough to cause surface rust, and October prepares the door for Santa Ana winds and the dust they push through the tracks. If your garage is within a couple miles of the coast, a third lubrication in January may help offset the extra moisture exposure.
A DIY maintenance regimen costs about $30 to $50 a year in lubricant, weatherstripping, and cleaning supplies. For more guides & resources on keeping costs down, check the blog. If you’d rather have a professional inspection, Otto’s Garage Door offers free maintenance checks for Vista homeowners, and a full lubrication service typically runs between $75 and $150 depending on the door’s condition and what needs attention. Call (760) 891-5938 for an exact quote, and the price you get on the phone is the price you’ll see on the invoice.
No, and this is not a recommendation you should ignore. Torsion springs hold enough tension to break bones or kill, and extension springs can fly across the garage when they snap. The tools, training, and experience required to work with springs safely make this a professional-only job. If your spring is broken, leave the door closed and call a licensed garage door technician immediately.
Grinding usually means dry rollers or worn bearings, rattling means loose hardware, and popping means a spring is binding. The noise pattern tells you where the problem is. Lubricate first, then listen again. If the noise persists, you’re probably dealing with a worn part rather than a dry one, and that’s a call to a professional.
Standard torsion springs are rated for about 10,000 cycles, which translates to roughly seven to ten years for a typical Vista homeowner who uses the door two to three times a day. Rust from coastal moisture cuts that lifespan, and that’s why lubrication and rust inspection matter. I count spring cycles the way you count tire miles, and I’ll tell you what’s left on yours.
The opener itself needs less maintenance than the door, but the chain or screw drive needs lubrication twice a year, the force settings need checking whenever you test the auto-reverse system, and the photo-eye sensors need cleaning monthly. If the opener seems to be straining, the problem is almost always the door putting load on the motor. Check the balance before replacing the opener. For opener repair or replacement, see our Garage Door Opener in Vista page.
The Bottom Line
The maintenance checklist that keeps a garage door running smoothly in Vista comes down to five things: lubricate the moving metal parts twice a year, test the safety systems monthly, tighten hardware in April and October, watch for rust on springs and cables, and never touch the parts under tension. Most of the work takes ten minutes a month and costs about thirty bucks a year in materials. The alternative is a broken spring at the worst possible time and a repair bill that could have been avoided. If you’d rather have a professional walk you through it the first time, call Otto’s Garage Door at (760) 891-5938. I’ve been serving Vista since 2004, my name is on the van and the license, and I’ll answer the phone myself. For more about how we work, visit our Otto’s Garage Door home page or see what goes into a new door on our Garage Door Installation in Vista page.
Written by Otto Reinhardt, Owner at Otto’s Garage Door, serving Vista since 2004.